

In the world of AI image generators, many would say (myself inclued) that Midjourney is the undisputed leader.
While the outputs are still quite mind blowing, one the key challenges many run into is mastering the art of Midourney prompts.
Given that each image generator has their own set of rules, parameters, and best practices, generating Midjourney prompts with GPT seems like a no-brainer.
That said, there are two ways we could go about this:
- AI search with embeddings: We could upload all the Midjourney documentation to a vector database and using similarity search to retrieve relevant sections that can be appended onto the user's prompt, or...
- GPT 3.5 Fine tuning: We can use fine tuning to "show not tell" and simply provide 50+ examples of ideal input-output pairs.
In this guide, we'll focus on the latter and create a fine tuned GPT 3.5 model that will take in a user's input i.e. something basic like "show me red car" and transform it into a more optimized Midjourney prompt like...
"Red car, sleek, zooms through city --ar 4:3 --s 693 --v 5
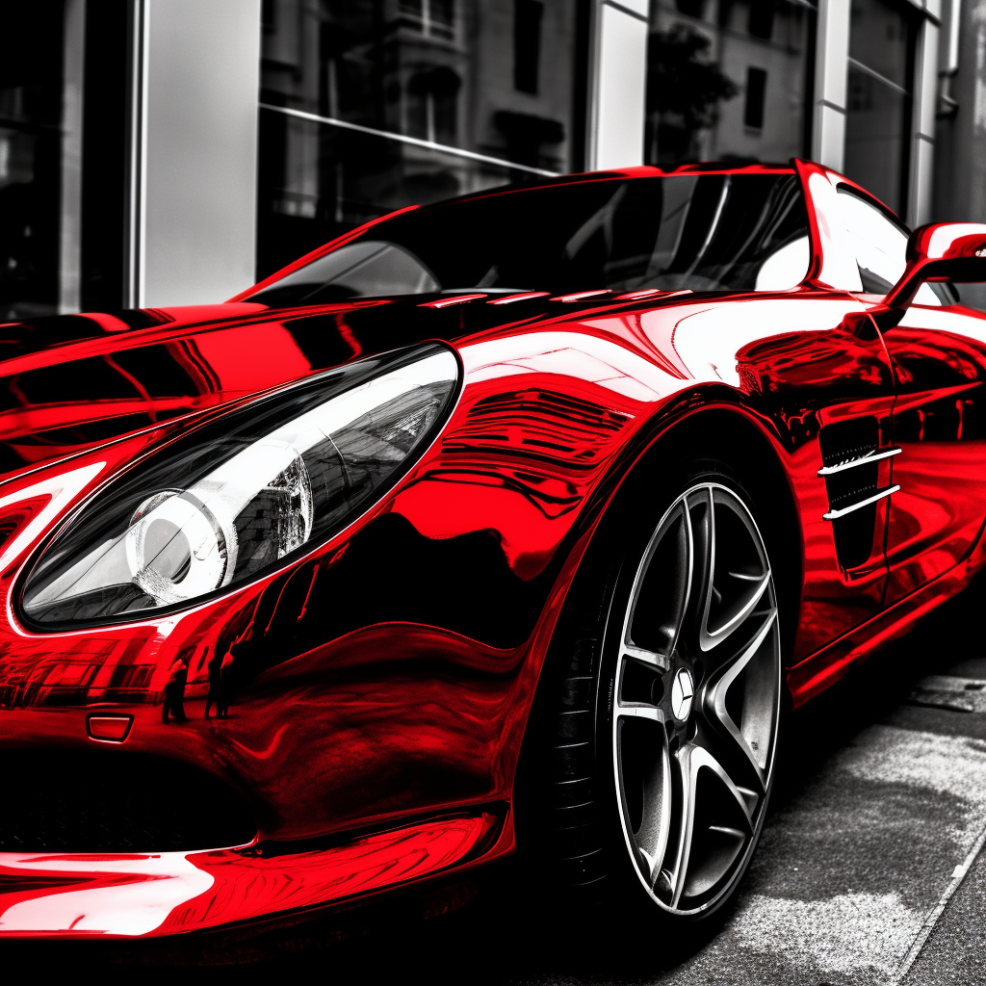
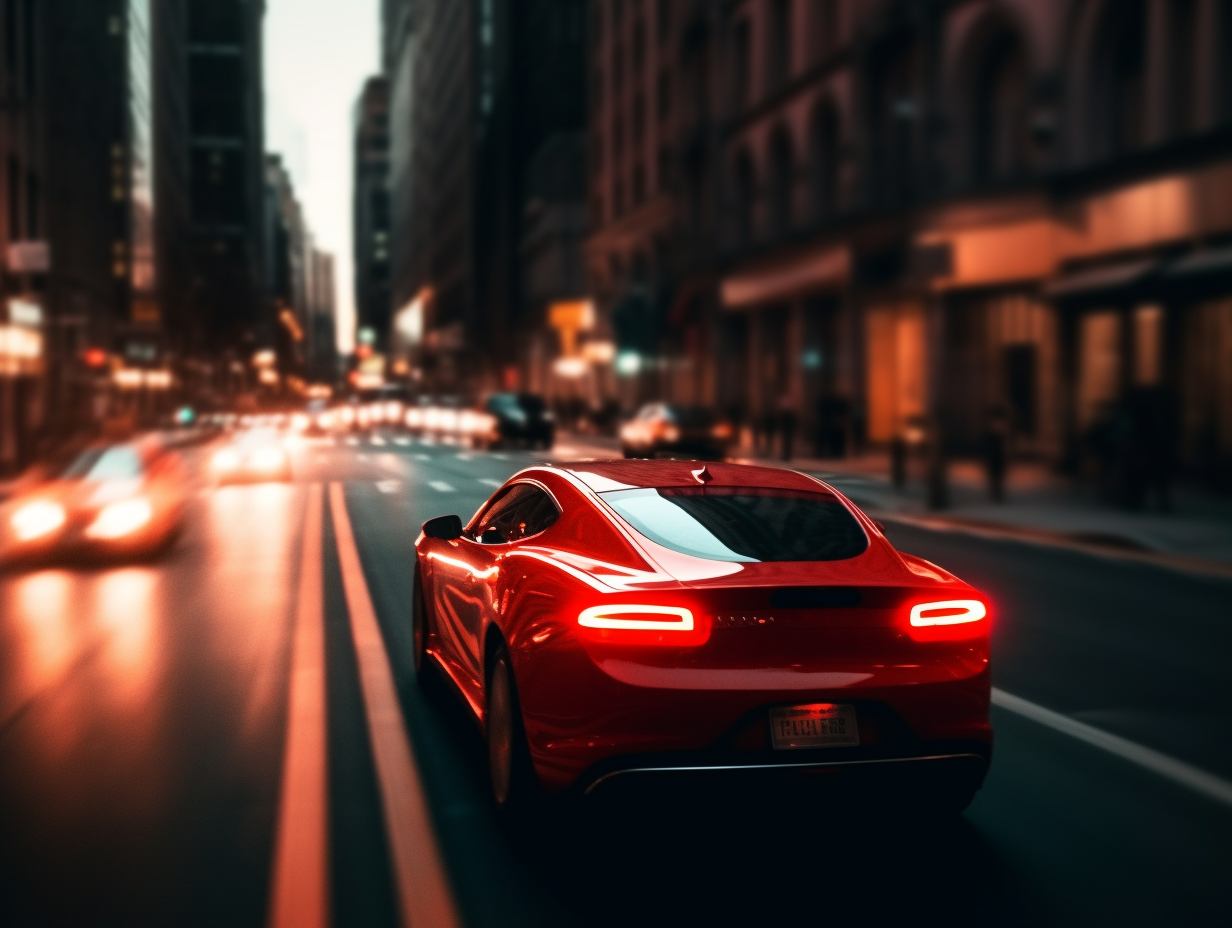
Fine tuned Midjourney model [right]
Both are cool, but the optimized prompt on the right definitely stands out to me.
Also, since I'll likely want to re-use this fine tuned model, we'll also create a simple Streamlit frontend.
Let's get started.

What is a Midjourney Prompt?
First off, the basics. As Midjourney puts it:
A Prompt is a short text phrase that the Midjourney Bot interprets to produce an image. The Midjourney Bot breaks down the words and phrases in a prompt into smaller pieces, called tokens, that can be compared to its training data and then used to generate an image. A well-crafted prompt can help make unique and exciting images.
While that may seem easy enough, there are also 15 Midjourney parameters that can be appended onto each prompt, and who really has the time to memorize these?
- Aspect Ratios (
--aspect, --ar): Change the aspect ratio of a generation. - Chaos (
--chaos): Introduce variability in results. - Fast (
--fast): Quickly generate results using Fast Mode.
...and several more. Each of these parameters make the output behave differently according to specific requirements.
Step by Step: GPT Fine Tuning for Midourney
Alright now that we have the basics of Midjourney prompting, let's move onto fine tuning.
In case you're unfamiliar with fine tuning, as OpenAI puts it:
Fine-tuning improves on few-shot learning by training on many more examples than can fit in the prompt, letting you achieve better results on a wide number of tasks.
In other words, with fine tuning we're providing a dataset of ideal input-output examples to train the model for our specific use case.
So, step 1, let's create our fine tuning dataset.
Step 1: Create a Fine-Tuning Dataset
For fine tuning we need a minimum of 10 examples, although OpenAI recommends at least 50 for better results.
Here is an example of the format we need the dataset in:
{"messages": [{"role": "system", "content": "Marv is a factual chatbot that is also sarcastic."}, {"role": "user", "content": "What's the capital of France?"}, {"role": "assistant", "content": "Paris, as if everyone doesn't know that already."}]}
As you can see, we have the followoing "roles"
- System role: controls the overall behaviour of the chabot
- User: Example of user inputs
- Assistant: Example of ideal outputs
Now, let's take that an apply it to Midjourney, here's an example of a user input and ideal output:
{"messages": [{"role": "system", "content": "You are a fine-tuned assistant designed to translate user input into optimized Midjourney prompts."}, {"role": "user", "content": "A landscape of a city being rebuilt after a catastrophe"}, {"role": "assistant", "content": "Post-apocalyptic cityscape undergoing reconstruction --ar 16:9 --s 999 --v 5.2 --chaos 20 --quality 1 --seed 12345 --style raw --stop 90"}]}
Without the code, you can see we're translating an example user input...
A landscape of a city being rebuilt after a catastrophe
Into an ideal Midjourny prompt output:
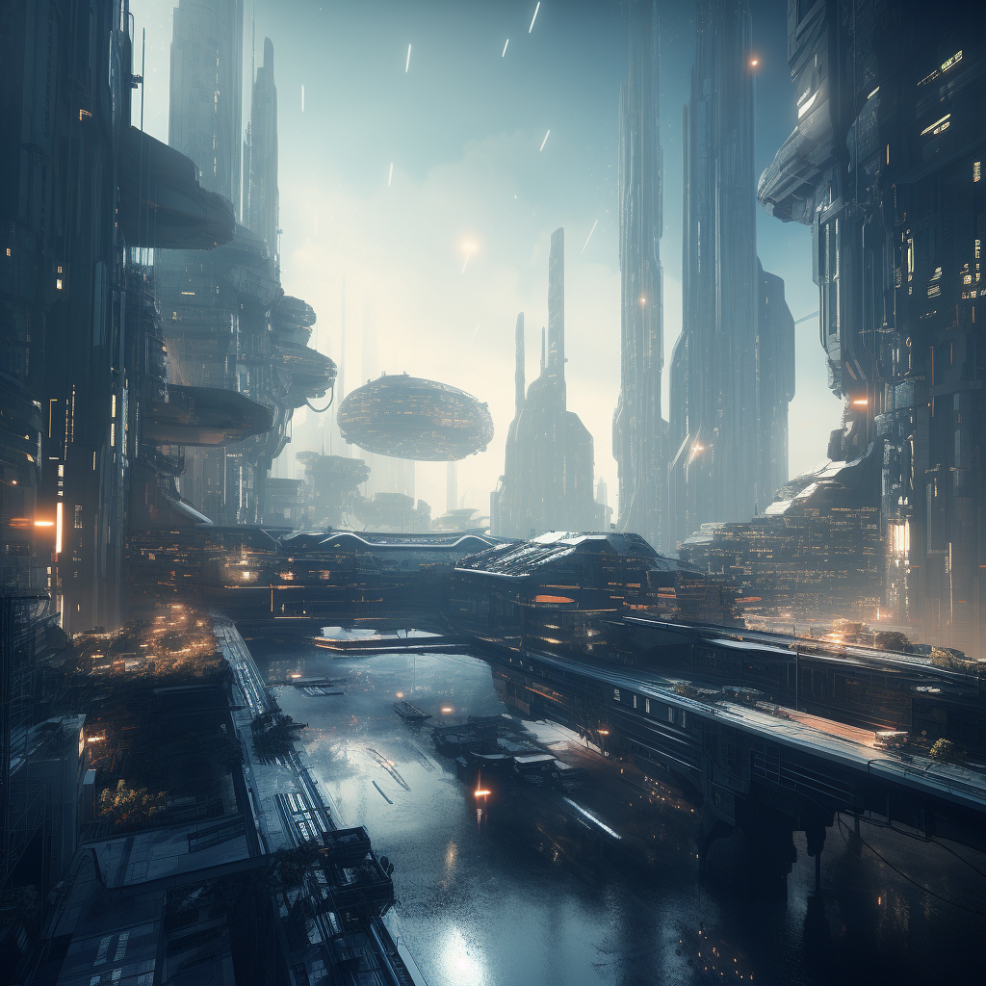
Post-apocalyptic cityscape undergoing reconstruction --ar 16:9 --s 999 --v 5.2 --chaos 20 --quality 1 --seed 12345 --style raw --stop 90
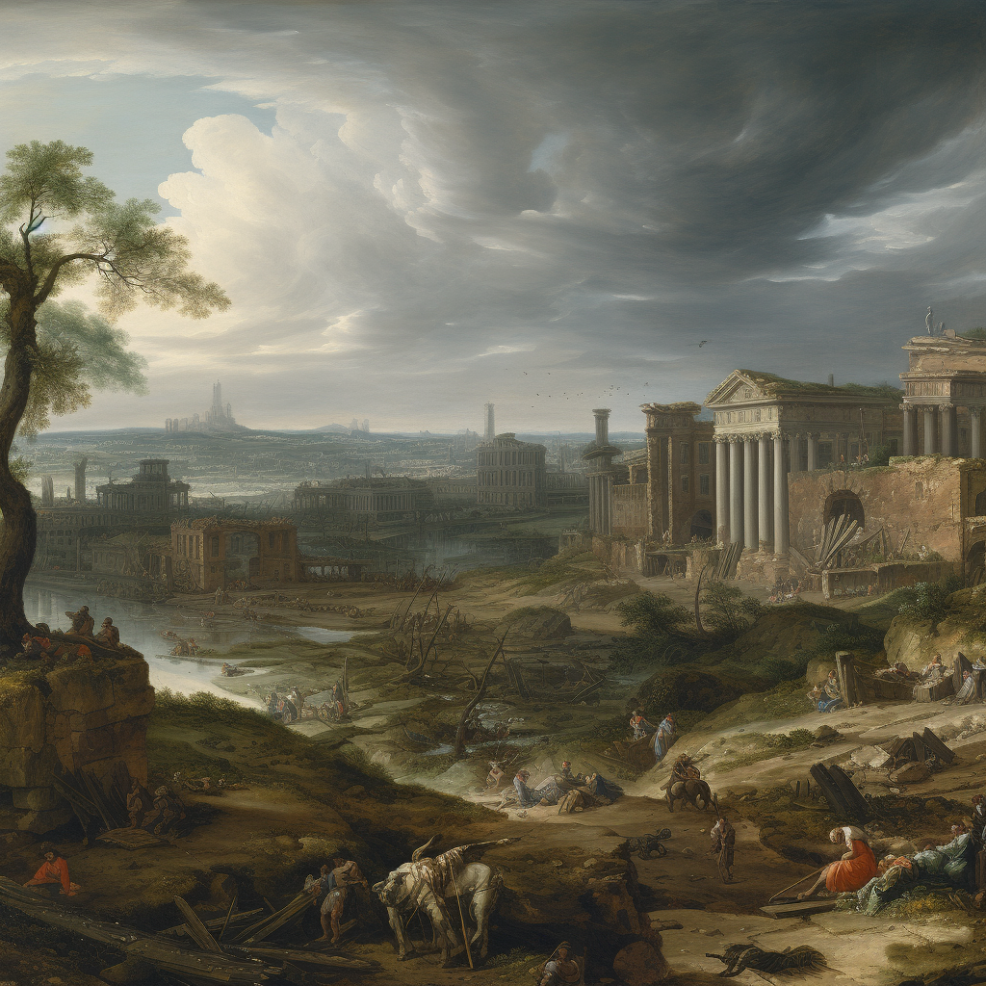
Fine tuned Midjourney model [right]
Again, I must say I like the fine tuned version much better.
Now, we just need to repeat this 50+ times for our dataset. Instead of doing this manually, however, I've simply fed in relevant documentation and context to ChatGPT to create my dataset.
Step 2: Upload the Fine Tuning Dataset
Now that we have our 50+ examples, we just need to save the file in JSONL format and upload it to a new Colab Notebook.
In the notebook, we'll also need to pip install openai tiktoken and set our OpenAI key:
import openai
openai.api_key = 'YOUR-OPENAI-KEY"
Next, we can run the file through the data format validation script to check for any errors:
Looks good.
Step 3: Create Fine Tuning Job
Now we're ready to create the fine tuning job. First we need to upload the file to the OpenAI API as follows:
# Upload the file first
openai.File.create(
  file=open("/path/to/your_file.jsonl", "rb"),
  purpose='fine-tune'
)

With that, we can see we get a new file ID, which we will need to add below to create our fine tuning job:
# Create the fine-tuning job
openai.FineTuningJob.create(training_file="file-abc123", model="gpt-3.5-turbo")
Step 4: Test Your Model
After the fine tuning process is complete, let's go ahead and test the model against the base 3.5 model to make sure we're getting the results we wanted.
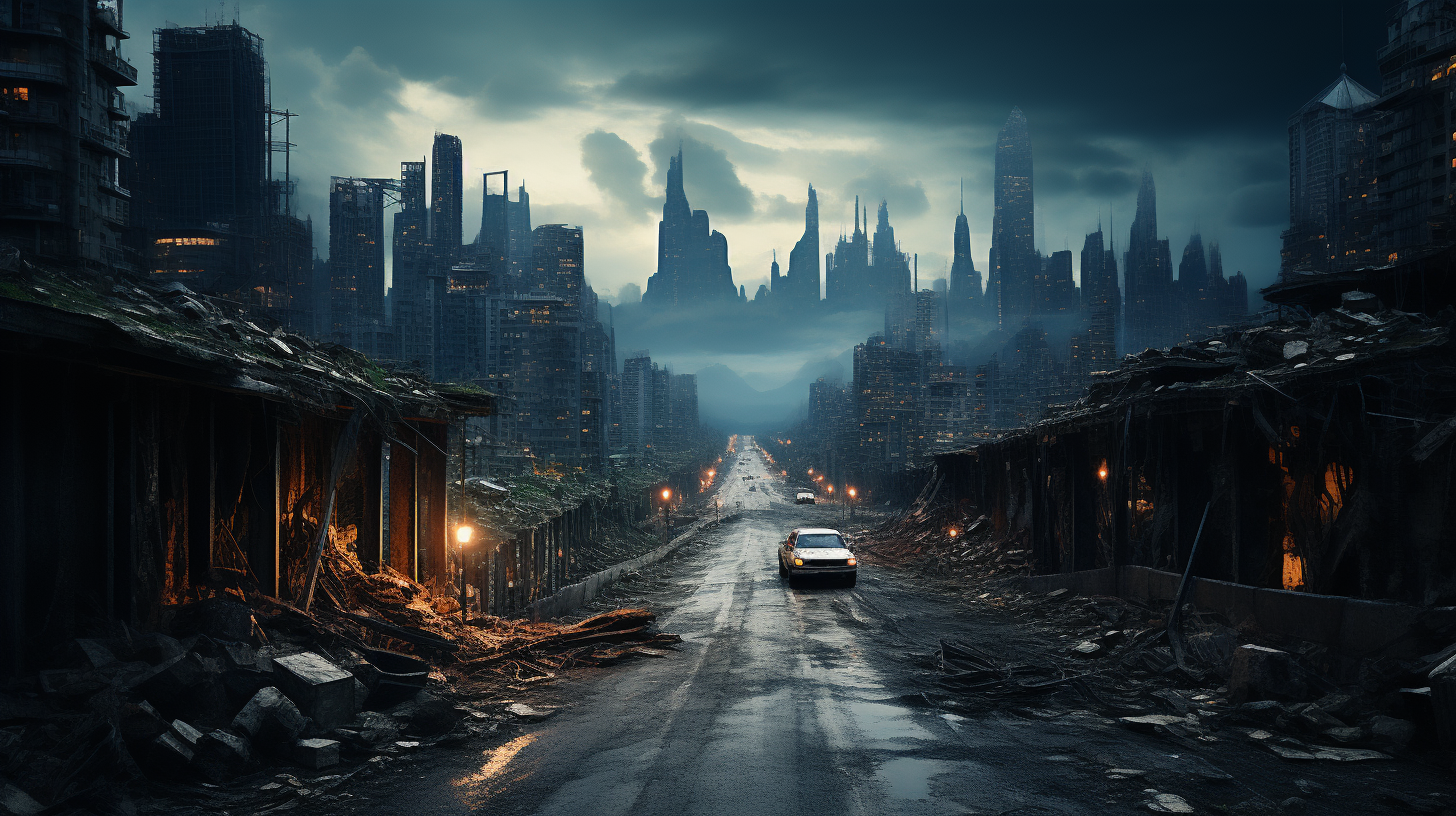
Let's test it out with the input:
A futuristic city scene
completion = openai.ChatCompletion.create(
  model="your-fine-tuned-model-id",
  messages=[
    {"role": "system", "content": "You are trained to fine-tune Midjourney prompts."},
    {"role": "user", "content": "A futuristic city scene"}
  ]
)
Which gives us the following result:
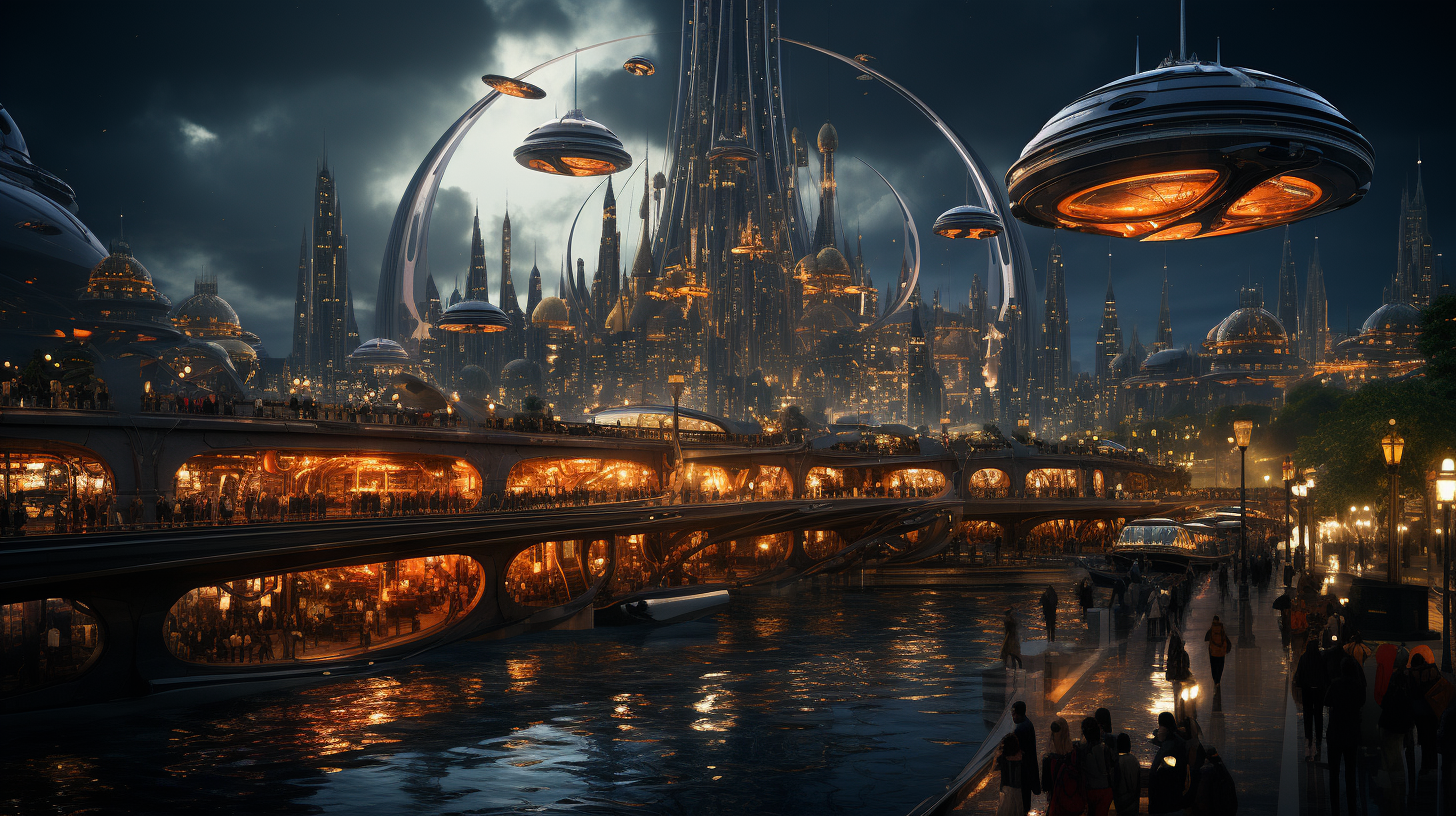
Futuristic cityscape, towering skyscrapers, flying vehicles, dynamic light, Blade Runner aesthetic --ar 16:9 --s 581 --v 5.2 --chaos 10 --quality 1
Fine tuned Midjourney model [right]
Again, the fine tuned Midjourney prompt really stands out...
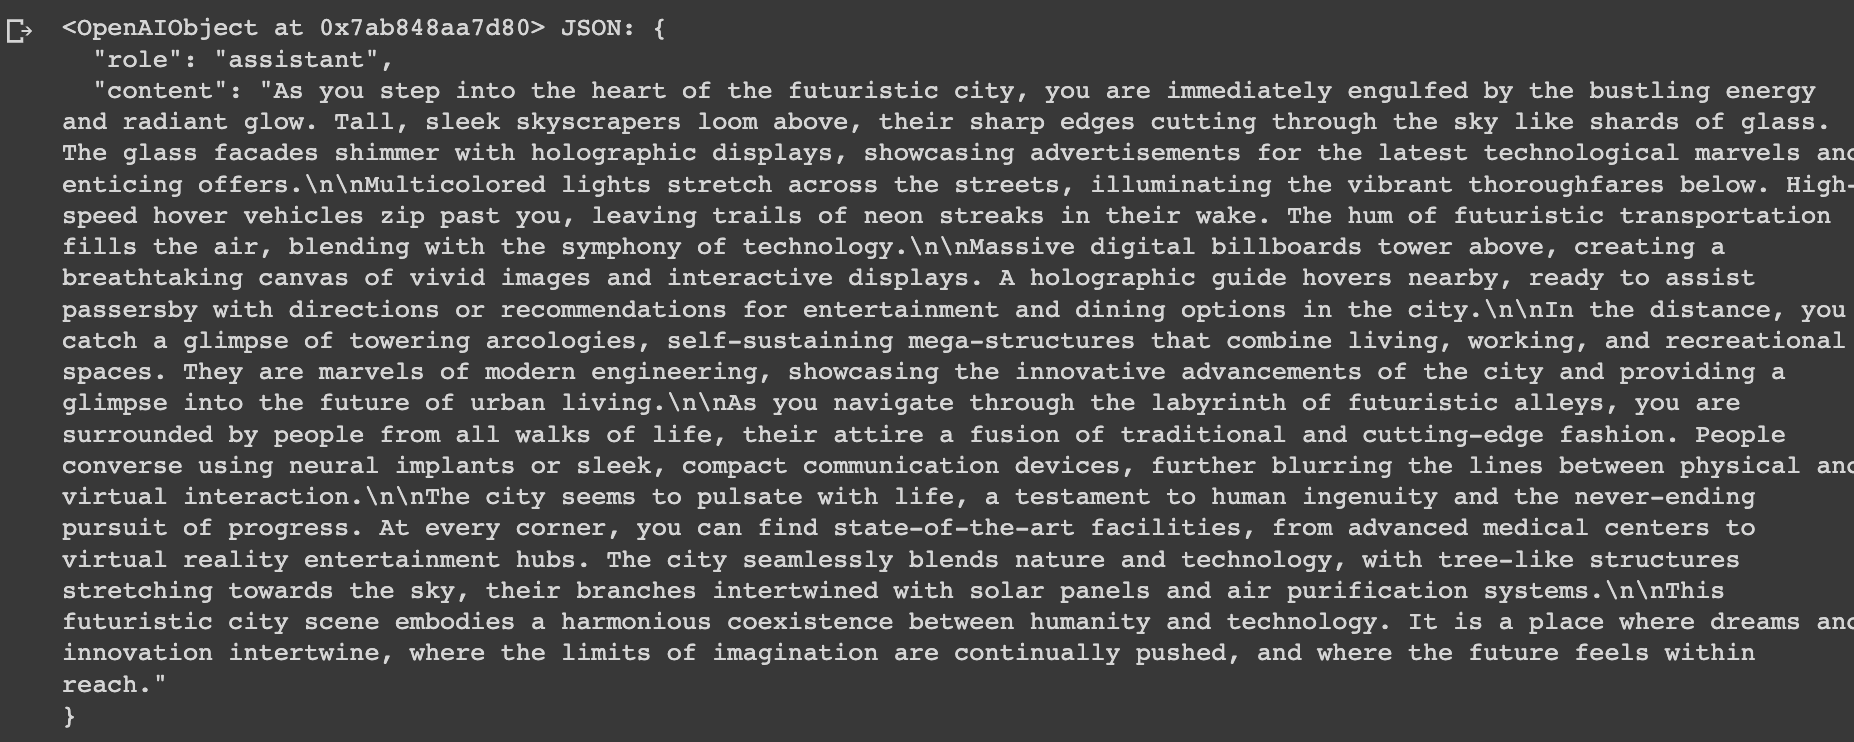
Compared to the base model, with the same input we see we give us a lengthy response...aka not ideal for Midjourney.
Step 5: Building a Streamlit Frontend
Alright now we've got our fine tuned model, let's build a very simple streamlit frontend.
First, we'll add our installs, imports, and set our OpenAI key
import streamlit as st
import openai
from apikey import OPENAI_API_KEY
openai.api_key = OPENAI_API_KEY
Next, let's create a function for our fine tune Midjourney model. Here we've also enabled streaming for the response
# Function to call the fine-tuned Midjourney model with streaming
def generate_midjourney_prompt(user_input, placeholder_response):
    response = openai.ChatCompletion.create(
        model="ft:your-fined-tuned-model",  # Replace with your fine-tuned model ID
        messages=[
            {"role": "system", "content": "You are a fine-tuned assistant designed to translate user input into optimized Midjourney prompts"},
            {"role": "user", "content": user_input}
        ],
        stream=True
    )

    assistant_response = ""
    for chunk in response:
        if "role" in chunk["choices"][0]["delta"]:
            continue
        elif "content" in chunk["choices"][0]["delta"]:
            r_text = chunk["choices"][0]["delta"]["content"]
            assistant_response += r_text
            placeholder_response.markdown(assistant_response, unsafe_allow_html=True)
In case users want to also use the base model, I've created another function for the 3.5 turbo model.
Now, let's create the main Streamlit function
- Here we've created a sidebar dropdown for users to choose between the fine tuned model and the base model
- We also have a user input field and a generate prompt button
Simple enough. Let's test it out one more time with...
A bustling Tokyo street at night
...which gives us:
Bustling Tokyo street at night, neon lights, fast-paced, blurred motion, diverse crowds, Blade Runner influence --ar 3:4 --s 525 --v 5.2 --chaos 10 --quality 1
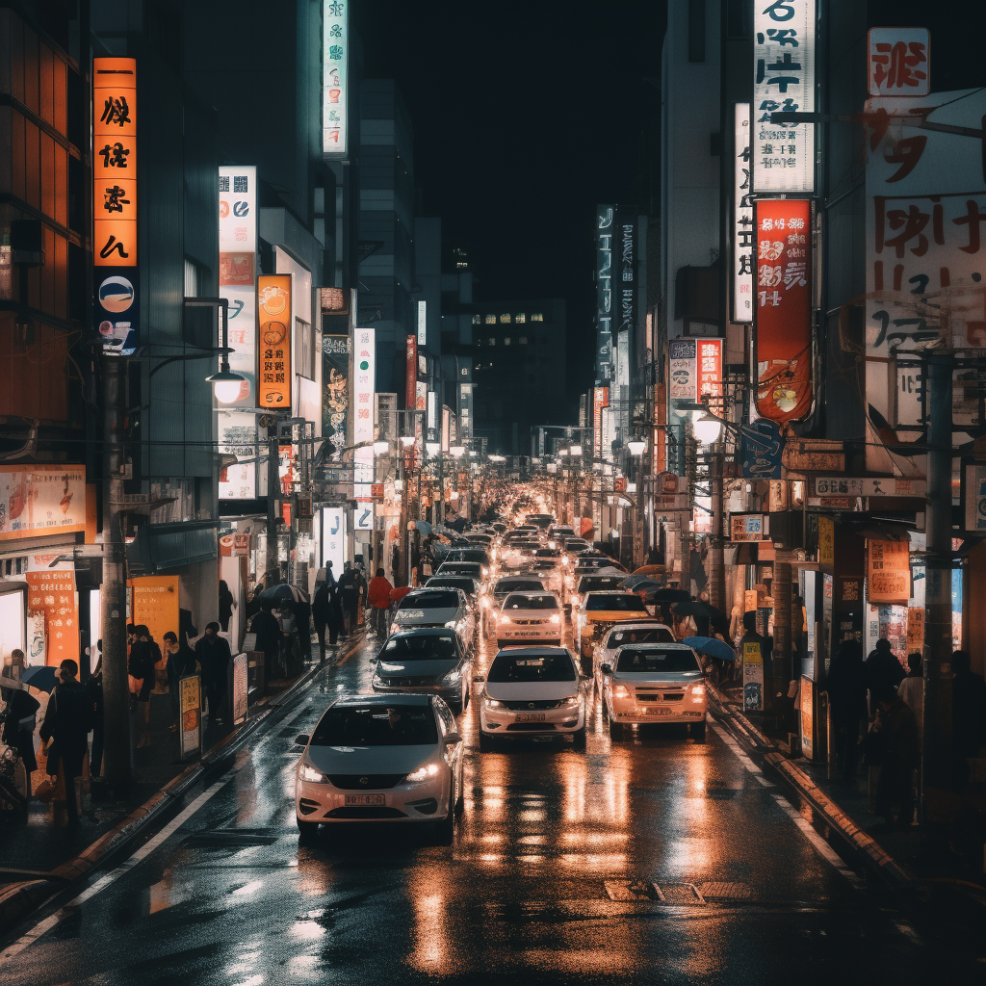
Fine tuned Midjourney model [right]
Neat.
Summary: Midjourney Prompt Generator
As we've discussed in previous tutorials, fine tuning has wide range of valuable use cases. As I've been experimenting with different image generator models, I've realized that I would much rather spend an hour or two fine tuning a model can optimize my prompts instead of constantly having to refer back to the documentation.
As we saw, with just 50 training examples and a few lines of code, there's already quite a notable improvement in the Midjourney image. While this is more of a fun side project, I hope you can start to see how powerful fine tuning really is.
If you'd like to access the fine tuning dataset and code to create a Midjourney fine tuned model, you can signup for MLQ premium here and access it below.
This content is only available to subscribers
Subscribe now and have access to all our stories, enjoy exclusive content and stay up to date with constant updates.
Sign up nowAlready have an account? Sign in


